« Archives in June, 2013

Productive couple of days.

19 hours.

Yeah, that’s Thursday, yesterday, and today.

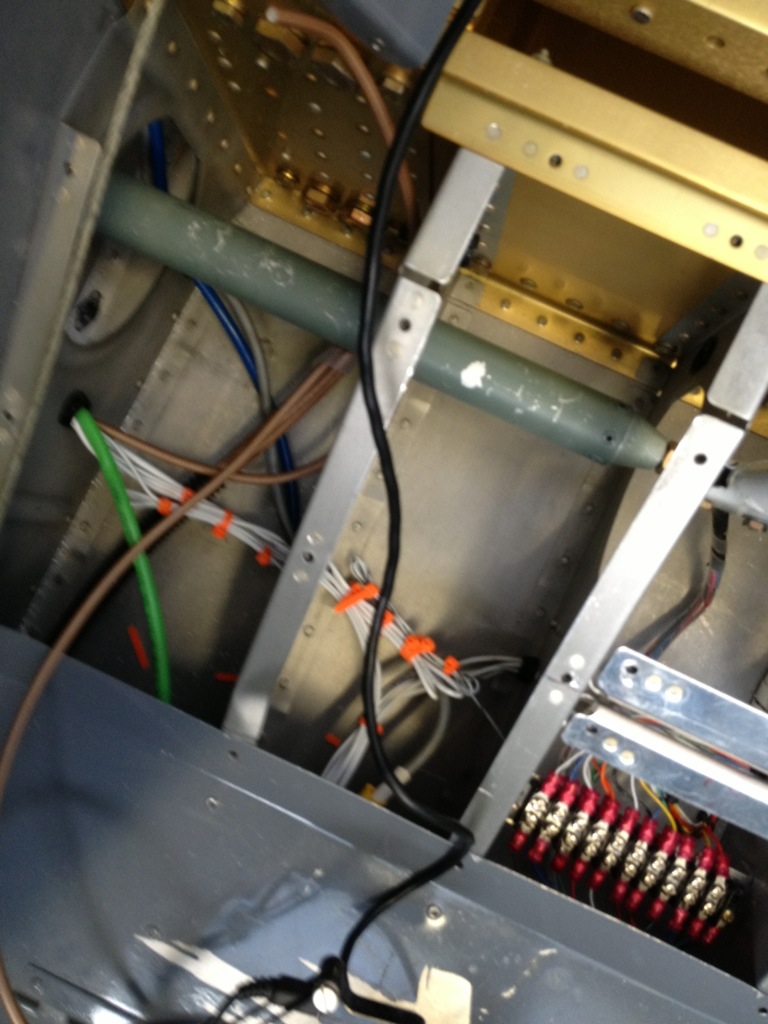
The pieces are going on the plane now.   I installed both wingtips and did the accompanying wiring.   Of course, like a moron, I severed the GPS antenna wire while I was crimping a connector for the wingtip VOR antenna, but Jim had an extra one and I was able to repair the GPS cable and install the VOR antenna cable


20130629-172517.jpg

I also installed the strobes and new strobe pack.   The bright white flash is the strobe actually working in the left wingtip.


20130629-172534.jpg

One of the neat things about Oxnard airport (and presumably Camarillo) is that you often get treated to flybys of things like this restored B-25.  Weird stuff passes by outside my hangar just about every day, and I love it.

20130629-172558.jpgThis is the wingtip, showing the landing light and nav light working.

20130629-172608.jpg
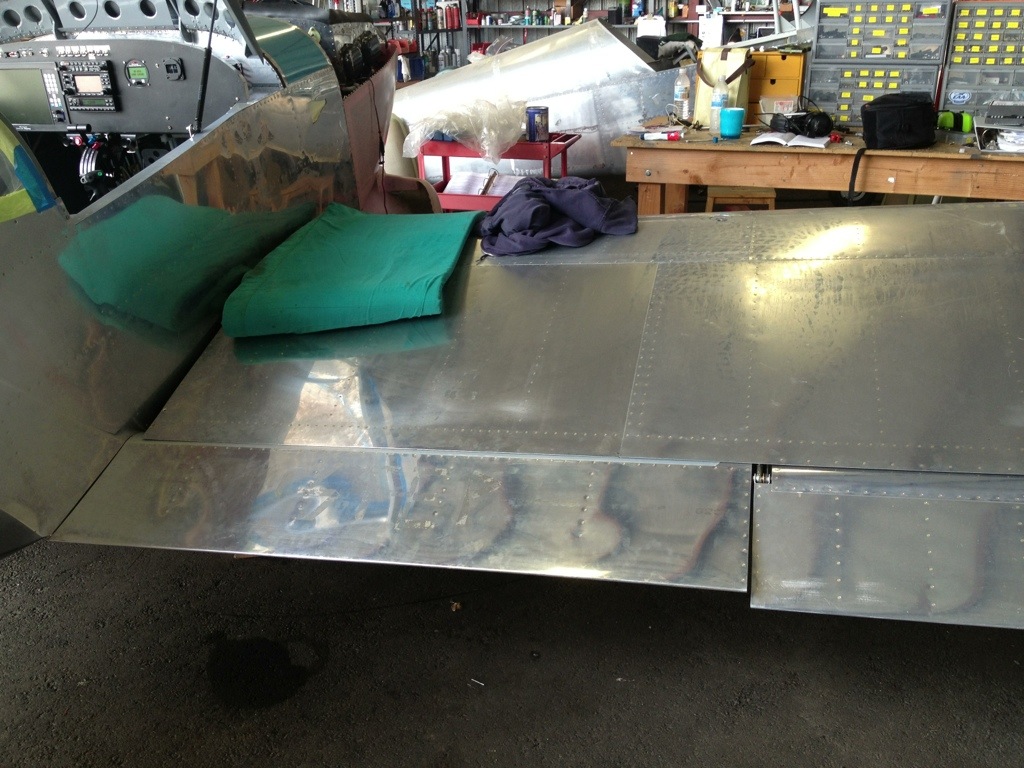
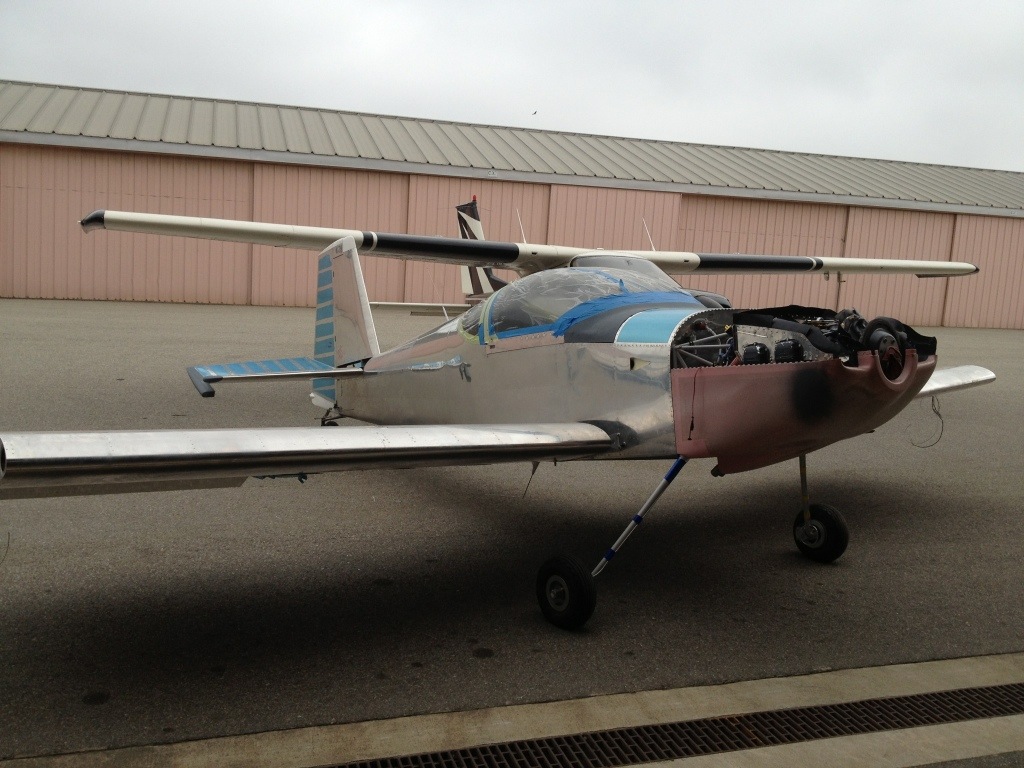
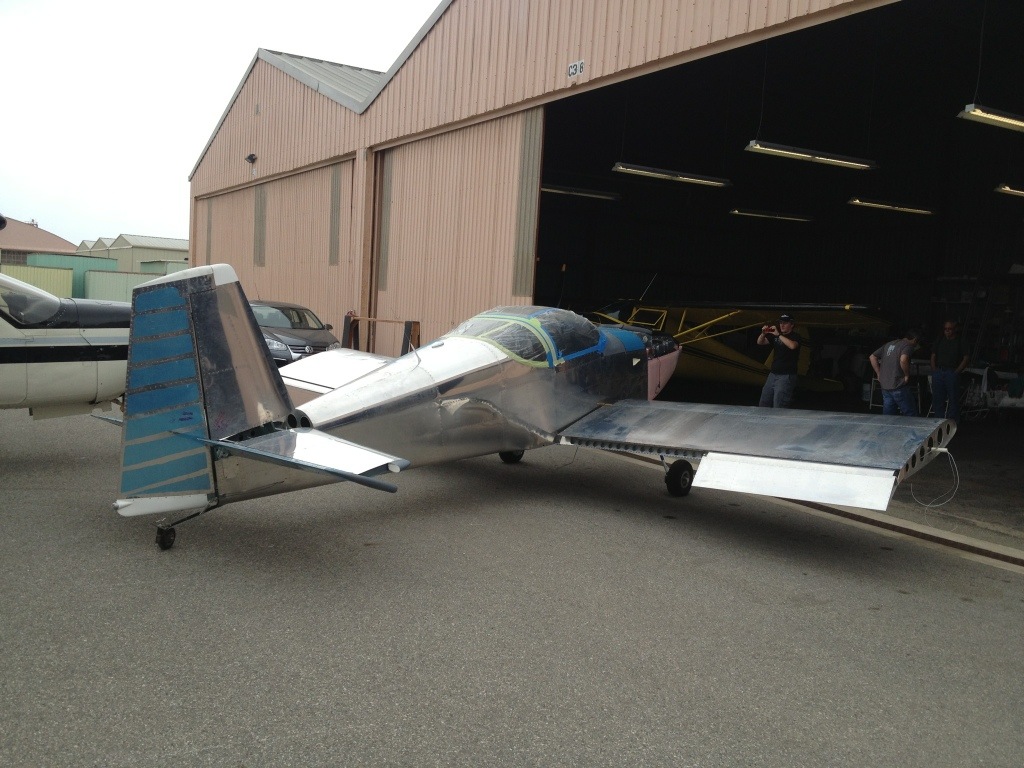
Both wingtips on here.  I spent a little time peeling the remaining blue stuff off the tail, and I just need to get it off the bottom wing skins and the plane will be blue-stuff-free.
20130629-172632.jpg
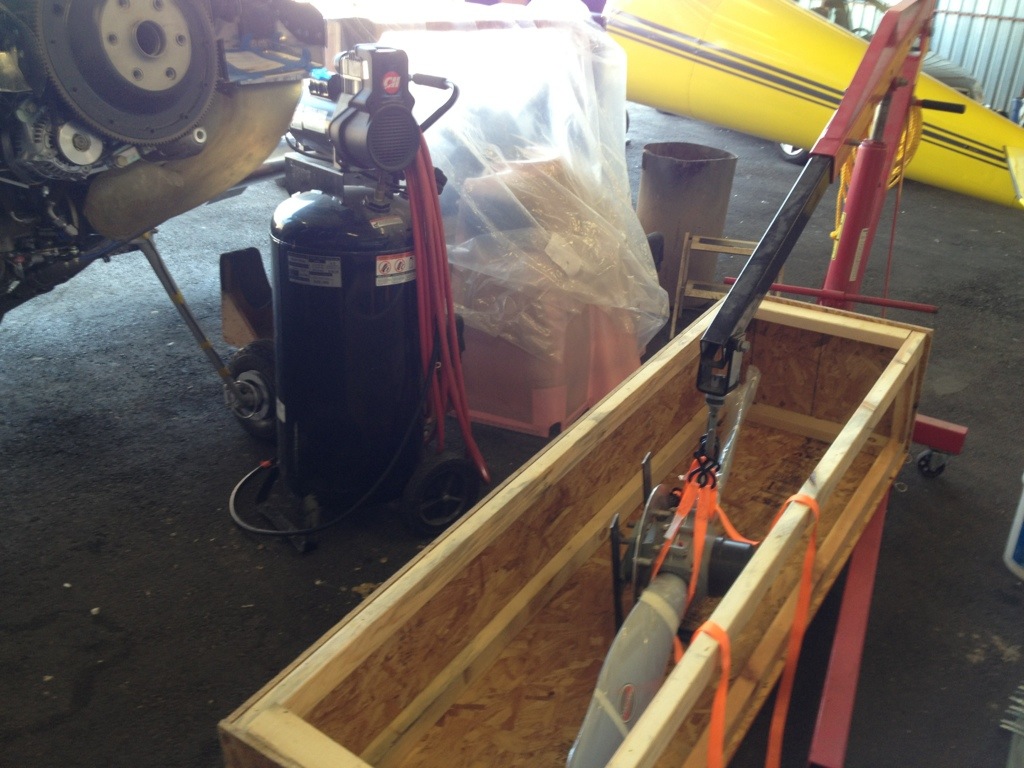
Hoisting the prop out of the shipping crate, hopefully for the last time.
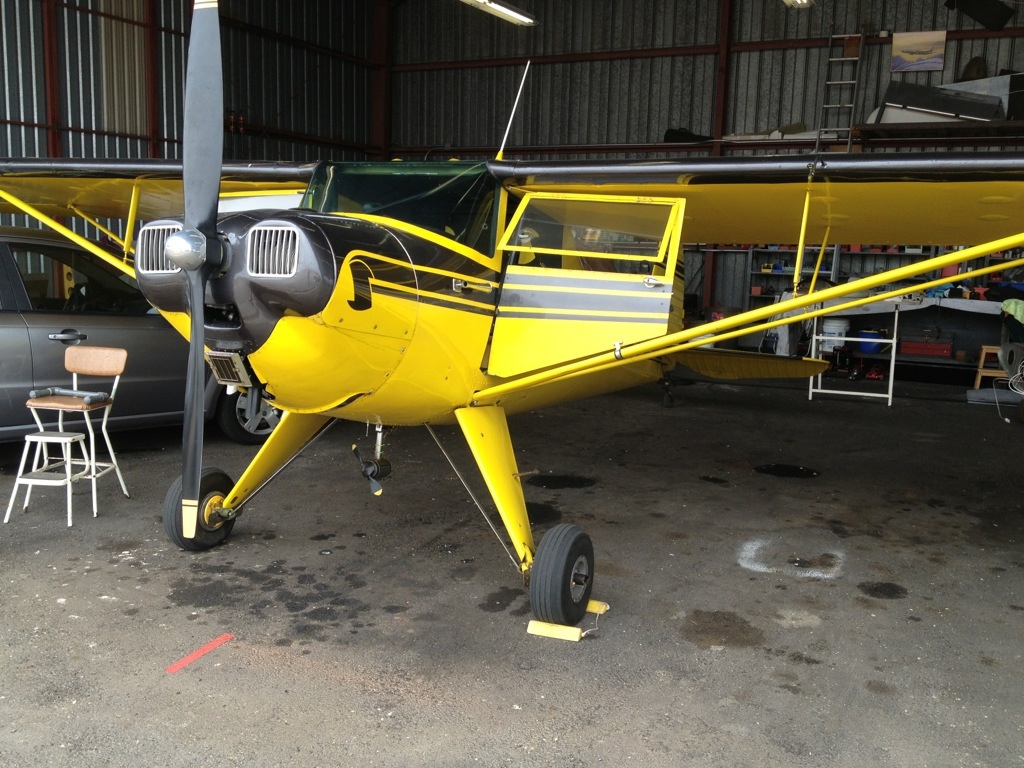
 

20130629-172659.jpgProp is on!
20130629-172722.jpgToday was about the prop.    I tried to get it done yesterday, but there was a flight, a barbecue, and the need to get home for evening plans, so I wound up doing it today.   Today was not all that wonderful.  There was an accident at the airport and I don’t have any details, and won’t publish them here until more is known, but it appears that we’ve lost a really good guy and a wealth of knowledge of experimental aviation and RV’s in particular.   Yesterday he lent me a torque wrench so I could torque the prop bolts, which I did today, along with the spinnner.


Still more connections.

6.5 hours.

A bit of a late start.   Since I took this week off, yesterday was my first weekday commute to OXR.   I went via PCH, which is nice enough, but it took a little longer, especially during rush hour.

I finished installing the rudder cable linkages to the pedals, so that’s another thing done.   I also got the pitch trim servo wired in.  I’ll need to adjust the throw on the trim servo, but that’s essentially done.

Then I went back to wing wiring.   I got the strobe and lights connected for the right wing, plus the autopilot servo.  It was lots of tedious, fiddly stripping and crimping in small, awkward places, which has an extra coating of suck because I did something to my right elbow and now operating hand tools like crimpers is fairly painful.

Left to do is connecting the VOR antenna wire (This may become an ADSB antenna wire if they phase out VOR) in the left wing and putting in a couple of pieces of UHMW tape here and there.  If I can have lights, strobes and VOR by the weekend, I’ll count myself lucky.


More connections and a flight

6 hours.

Today was spent tidying some wing attach stuff.   I got my order from ACS, so I was able to finish installing and torquing all the wing attach hardware.   I also did the fuel line on the left tank, remembering this time to put the rubber grommets on before flaring the ends.   There’s a $30 tool that will stretch those rubber grommets out so you can get them over flares and fittings, but I figure it’s good practice just to try to be less stupid.

The most interesting part of the day was the short flight I took in my hangar mate’s Luscombe.

20130616-093619.jpg

I’m not sure which model this is, but I think it’s an 8C or 8D.   It burns 4 gallons per hour, which is probably about half of what the Pipers I learned on did.   It has no flaps, no lights, and only the minimum equipment of single radio and transponder to get around Southern California’s interesting airspace.

20130616-093644.jpg

Now, I’ve never been in, much less flown a taildragger, and the oldest airplane I’ve even sat in was an old L-19 Bird Dog in Ft. Leavenworth KS when I was a little kid.    This aircraft was built some time during the early 1940’s, and Ron was kind enough to let me follow him on the pedals to get a feel for the quirks of a taildragger.   This shot is one out the right window, us taxiing to runway 22 at OXR.

20130616-093659.jpgAnd another out the front.

20130616-093719.jpg

The instrument panel is simplicity itself.   Everything you need for day VFR, nothing you don’t.   The mount for the Garmin 296 GPS looks strangely out of place, over to the side out of frame.   There’s a single vernier cable control for throttle and a small one for carb heat.  I didn’t see one for mixture.  I don’t think there is one.   The fuel gauge is on the bulkhead behind me, between the two seats.


20130616-093736.jpgWe did a landing at Santa Paula, where I was able to get a picture of Steve McQueen’s old hangar.   I love this airport already.   I just wish we’d had the chance to buy McQueen’s old ranch when it popped up on Jalopnik last year and it was dangerously close to something we could afford at its fire-sale price.


20130616-093750.jpgThat adventure only took about 20 minutes to half an hour.   When I got back, I did most of the real work.   Here’s the right flap, on and conneted.  There’s some more rigging to be done,  and some more wiring, but the wings are nearly fully on and connected.   I also got the left rudder pedal connected to the cable, but ran out of time before I could do the right one.   I’ll hit that in a week.  Soon it will be time to mount the prop!

Connection Machine

12 hours.

Yesterday and today, because I didn’t have a chance to update last night.   Last week the wings went on, with temp bolts, but yesterday was all about installing the close-tolerance bolts in the main spar.   These big bastards hold the wings on.  The forces on them are shear forces, but they don’t want there to be any slop whatsoever, so you use eight close-tolerance bolts each side.   Lube up the shanks, but don’t get any lube on the treads or the torque values will be off and that’s, um, bad.

20130609-205206.jpg

The secret to these things is to tap them in with a rivet gun on very low pressure.   The trick is remembering to get the washers on under the bolt heads.   I got all of them in, both right and left wings, but somehow I lost one of the AN365-720-A nuts that go on the big bolts.   ACS to the rescue.   That was about all I had time for yesterday.. I got out there around 10 then had to head back at 3, so I came back out this morning.  Got there at 9:15 and powered through the whole day.

20130609-205240.jpg

As an added bonus, my next-door neighbors did first engine start on their helicopter this afternoon.   They brought this thing over from New Zealand, and last week it was just a box of helicopter parts.   This week they had it running.   Apparently it’s so light they had to add fuel to make it a little more stable for ground run tests.  Oh, and it’s really freaking loud.

20130609-205250.jpg

I decided it would probably be best to finish one of the wings, so I concentrated on the left one.   I connected the flap pushrod and hooked up all wires except the VOR antenna, which will have to wait for a couple of BNC connectors.   I also fabricatied and installed the fuel line and connected the vent lines, so now if you put gas in that tank, it will feed the engine and make it run!

20130609-205258.jpg

20130609-205309.jpg

I replaced the puny 16ga wire I had going to the landing light with a beefier 10ga section, so that left me with a spare wire.  I left it there, in case there’s anything I need to put in the wingtip later.   Tested pitot heat, that works, 12v to everything at the end of the wing.   Also ran pitot and AOA lines from the wing up to the area behind the EFIS.   I’ll trim and connect those next time.

Speaking of which, while I was tracing a wire, I managed to jar loose the little resistor on the RDAC for the RPM counter, which is damned frustrating.   You guys couldn’t have built that resistor into the RDAC itself?

The Thing Has Wings!

3 hours.

This morning, Dave and Peg picked me up from home and we met Derek at the airport to fly up to OXR in his 177RG Cardinal.  It took a while to get out of SMO because somebody’s bizjet blew a tire and was stuck on the runway for half an hour, but we finally got off the ground and got to Oxnard.   There, we put the wings on the RV, which involved a lot of shuffling things around in the hangar space and trying not to bash the other occupants, the structure, or each other, with ungainly airplane parts.

The wings did go on, after a fashion.   Our time here was abbreviated because of earlier runway delays, so the wings are currently held on with the sacrificial hardware store 5/16 bolts I used during the initial alignment and the proper AN5 aft spar bolts.  My hangar mate Ron and a friend of his helped us get the overlap sorted out on the right wing, and all totaled it didn’t really take more than an hour once we arranged everything in the shop and actually began putting the wings on.

It truly was a 4-person job.   Derek, Dave and I wiggled the wing into place, Peg kept the wires from getting fouled, and then I bashed the 5/16 bolts through with the rest of the crew doing precision wiggling where needed.

20130601-152501.jpg

20130601-152510.jpg

20130601-152522.jpg

20130601-152531.jpg

One thing I should have done is left the flaps off.   We tried getting the left wing on with the flap on and that didn’t go so well, especially when it came time to line up the aft spar holes.   I wound up taking the flap off the left wing, then took the flap off the right wing before we tried to put that on.   So what you see here is the current state, which is the big flat bits that make the plane stay up in the air, stuck to the bit that holds the meatbags off the ground.

As an aside, I’m hoping that when I connect the control push tubes, the sticks are a little more limited in their side to side travel, because currently, my hand just barely grazes the quadrant.