6 hours.
A few things happened over the last few days, but I’m going to lump them all into one entry rather than a lot of little fiddly bits. Got the right flap installed. Went faster than the left one, since there was a little less puzzling about what to do. I also managed to do the end rivets with AN470’s instead of the CherryMax rivets you’re supposed to use (if you’re quickbuilding), so I’m pretty stoked about that. The hinge pins go in easily enough, with some resistance, but I can push them all the way in by hand. I also drilled the right bottom skin. Still need to deburr/dimple both bottom wing skins, but that can wait. Yesterday, my SafeAir1 pitot mast came in the mail, so today I drilled it to the skin and spar. Cutting the hole for it was a breeze.. i got the metal bit for my RotoZip and it did a fine job. Again, still needs deburring. The Pitot mast is raw steel, and it had some rust scale on it, so I had to sand the hell out of the inside. I’ll sand it again and paint it this week. It won’t need to go in until I close out the left wing, which won’t be for a while. I picked up two 10′ lengths of 1/2″ pvc for wing conduit, now I just have to spend some time fabbing brackets to mount it to the ribs. Since I’ll be using the conduit for wing wiring, I can use both the pre-drilled and grommeted holes in the ribs for the Dynon pitot/AOA probe’s tubing. The probe should arrive in a couple of days. I’ll probably drill the probe to the mast, paint the mast, then put the whole thing away until bottom skin time.
Here’s the hole for the pitot mast. There’s a nice scratch near the hole where the bit slipped. I guess we’ll be sanding and priming that area.
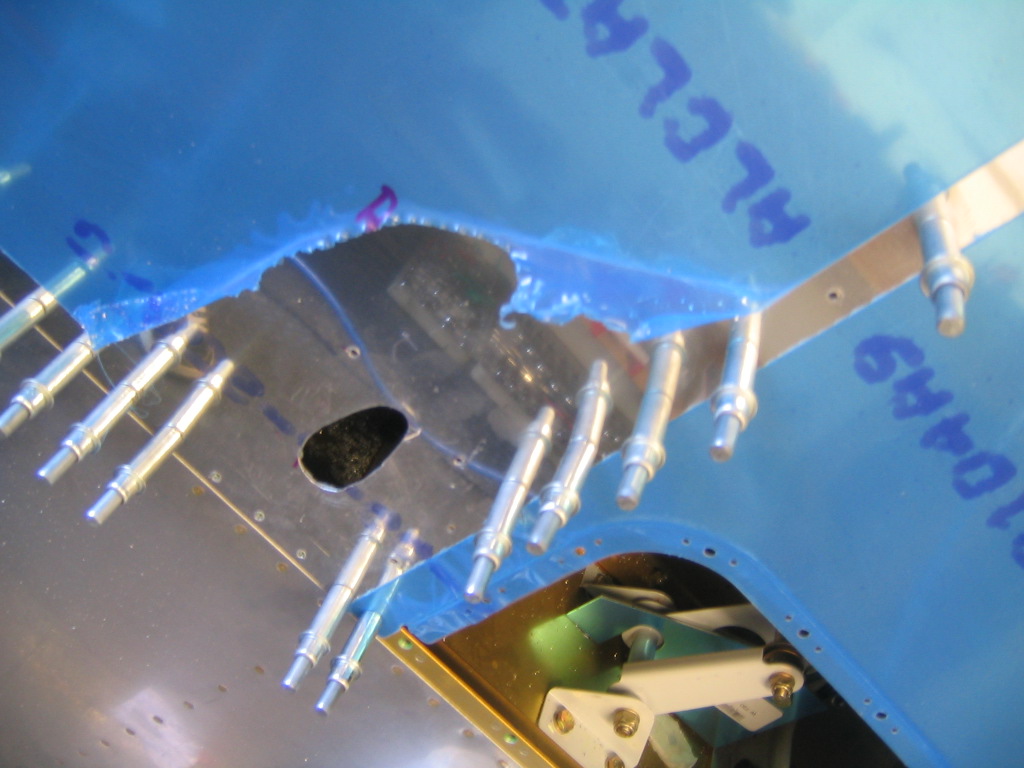
Here’s the RotoZip. The plasting tube sticking out goes to an adapter for the shop vac. Sucks the dust out while you’re running it, but it also gives you a good look at the bit and where it’s going. Just don’t be looking down that tube up close without eye protection or bad things will happen.

Here’s the mast, test fit.
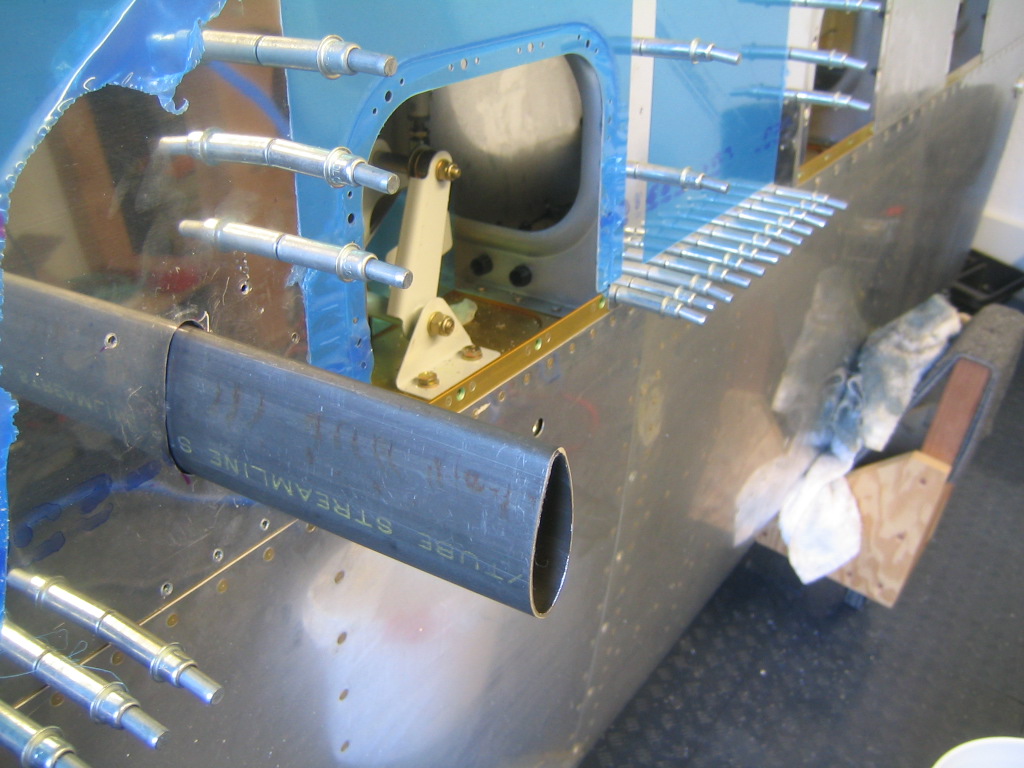
Tomorrow, Dan Checkoway and Debris (a TC in training) are coming out to have a look at my work, so I got the skins unclecoed and got the tail parts down out of the rafters for them to look at. Some of the metalwork is downright embarrassing, but I’ve been trying to follow the rules (edge distances, no pillowing, etc) and I think it will be safe, just not pretty in some places. Like an old Volvo. But the most obvious question here is why am I resting the rudder and Vstab upside down on the floor? It’s not on the floor, it’s on a layer of folded up packing paper, and it’s the only way to lean the assembly against anything. The vertical stabilizer doesn’t really weigh much, and the skin around the counterbalance is pretty thick, so there you have it.

Tomorrow, I’ll report all the gotchas the TC’s find that I didn’t catch. Hopefully the list won’t be too long.
Oh, and if you’re reading this and you haven’t already, join EAA. Do it right now. http://www.eaa.org
Right flap and pitot mast.
Left flap attached.
6 hours.
Left wing: installed flap brace and flap hinge, aligned flap. This was a bit of a quandary, and I might wind up redoing this, and here’s why: With the aileron in neutral, the flap, based on where it was drilled, is about 1/16 short of the trailing edge of the aileron. Now, I drilled the flap hinge on this way because I wasn’t comfortable with the amount of distance from the rivet to the edge of the hinge. I’m going to go out on a limb here and guess that as long as the other flap is done the same way, it’s not going to affect flight. A lot of folks on VAF wound up getting the next wider type hinge for this op. I’ll ask Van’s what they think, but it seems silly to have to get a different type of hinge than the one included in the kit just to give you edge clearance between the rivet and the edge of the hinge. So here’s what I did: I used the ‘Dan’ method of using keeper rivets to hold the flap brace and the skin together while I clamped the hinge and flap to the skin and brace. After drilling the hinge is done, you drill out the keeper rivets and countersink the flap brace just like the plans say, then you put the whole shebang back together like you’re supposed to. One mild-to-medium suck: My cheap Arrow blind rivet squeezer won’t take a 3/32 rivet, which is what the CR3212 CherryMax rivets on the ends of the flap brace are. I think I can make at least 4 of them happen with regular AN470AD4’s, but I’ll have to either find a decent alternative or get a rivet squeezer capable of dealing with a 3/32 shank. Other than that, it’s all good. the flap moves freely, the pin goes in without too much trouble, and the end result looks suspiciously like an airplane wing.
Here’s one of a keeper rivet and the clamp on one end holding the hinge in position. You progressively drill and cleco your way down the line. Then you can take the clamps off.

Gap between flap and aileron is the plans-specified 1/4 inch. My camera doesn’t do macro, so it’s a blurry mess. I spent the money on a plane.

Here, we’re looking down onto the rear spar. I used a slew of AN470 rivets to hold the brace in place on the spar while I hung and drilled the hinge. This shot is right after I’d gotten all the hinge holes drilled, except for the keeper rivet holes, which got done later.

Here’s the finished deal. By ‘finished,’ I mean everything done except the line of holes in the bottom outboard skin, which is currently clecoed on temporarily.
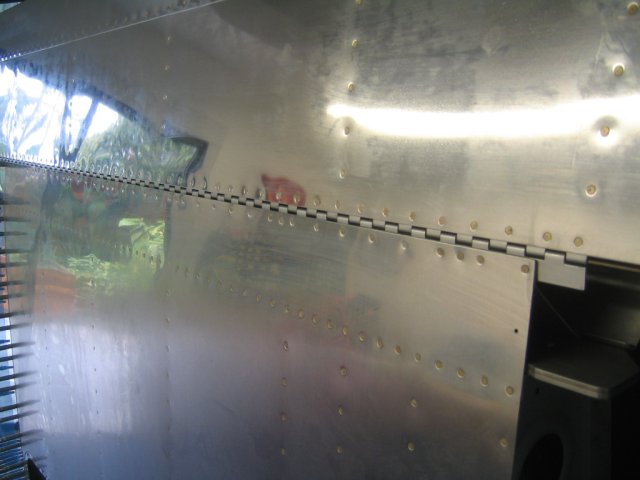
Here’s the big picture. The outboard bottom skin is clecoed on, ready for drilling. I need to get this out of the way so I can stow it while I have fun with conduit and pitot lines.
