« Posts under Finishing

Engine Start, Part 1.

6 hours.

A tiring and ultimately unsuccessful day.   Dave and I went out to the airport with the intention of starting the engine for the first time.   We were off to a stellar start: I’d forgotten my airport key card; it was still attached to my motorcycle safety vest at home. I didn’t notice it until we were actually in Oxnard, so that sucked.   We did manage to find somebody to let us in, then went about the business of readying the plane for engine start.   We dumped 8 quarts of oil in the tube, then attempted to time the magnetos.    This is harder than it sounds.   Once we actually figured out how to use the buzz box, the cylinder plug, and our own eyes, we got the mags in and timed to the engine.   That’s when the fun started.

We wheeled the plane outside and prepared to start it up.   We left the distributor caps off the mags so we could spin the engine a bit and pre-oil it.   with four plugs removed, we were able to spin the engine around and get oil into all the nooks and crannies and actually see an oil pressure reading come up on the EFIS.      Prop spins, there’s oil, let’s start it!  Foolish us.   Slick magnetos are designed to run when their circuit is open, that is, the two leads connected to them, when connected to each other, make the magneto safe, cold, whatever.   The AeroElectric diagram has you connecting these two switches together in such a way that the right mag fires when you’re starting and the left one doesn’t do squat until the engine’s running, that is, you’ve let go of the spring-loaded upper position toggle because the engine is running.

Somehow, I’d wired it in such a way that the mags were connected/safe when the switches were “on” and the start circuit was on.   The engine spun, but wouldn’t start.   Fortunately, safety wasn’t in question.   The way I had it wired, no matter what position the toggles were in, the mags were grounded, so it’s not like the prop would have taken our faces off.

By the time we’d gotten wind of the problem, it was too late to debug and we were tired.  Tired people working with dangerous things tend to get hurt, so we packed it in and crawled home, after begging to be let out the airport gate.
EFIS returned to service and wing root fairings on

8 hours.

Today and yesterday.  I got the EFIS back before Friday’s taildragger lesson and got it back in the plane on Saturday.   My only gripe is that the voice alerts don’t make any sound.  I”m not sure if that’s because of the EFIS or the wiring, maybe both, but it worked before I pulled it out, and now it doesn’t.   More testing is needed there.

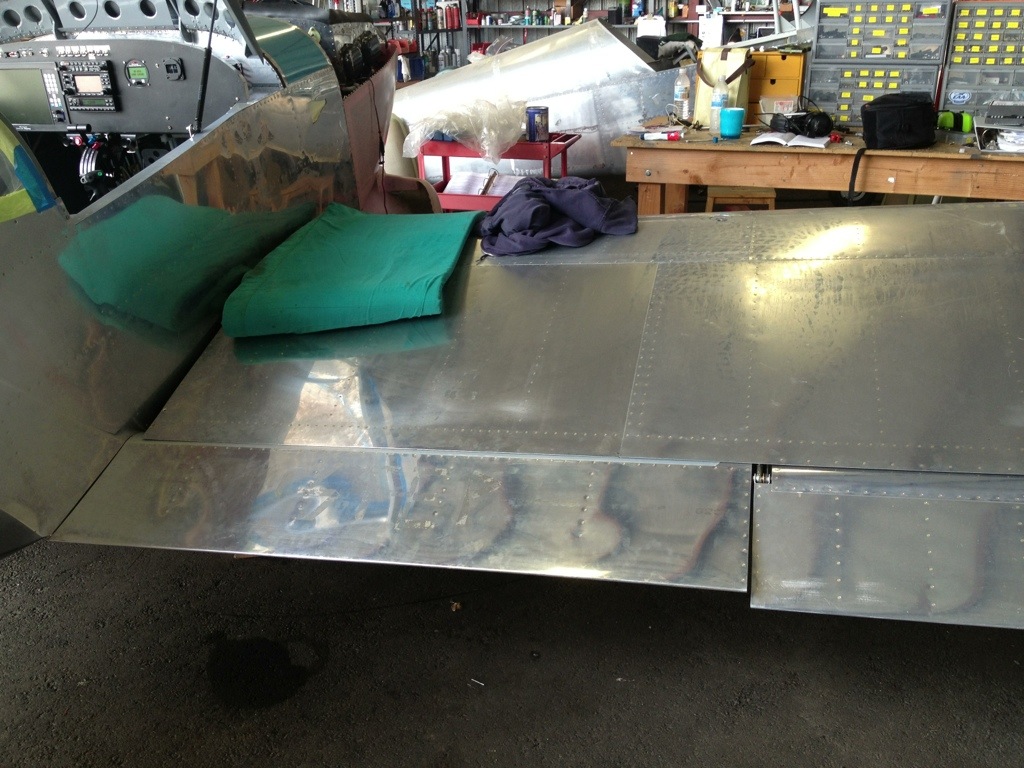
I did get the wing root fairings on, and hoo boy, are they a pain.  They’ll have to come off again for the DAR inspection, but I don’t need to access anything between the wings and fuselage, so they can go on the plane and not be hanging off the handle of my tool box.   It took some time, because the fairings and the seals are kind of awkward and I had to do a couple of passes with the deburring wheel to gain enough clearance for the u-channel of the rubber seal, but I think they’ll work OK.

I think we’re going to start the engine next week.   Time to quit procrastinating.   Need to torque the alternator bolts down, but other than that, it’s ready to go.   I’ll pre-oil it again, then we’ll fire it up.   With a gallon in each wing tank though, It’s not going to run for long.


More odds and ends.

5 hours.

This is for Monday, Sept 2.

I really need to do these log entries directly after I do the work.   Makes for an easier time remembering what went on.   Without the EFIS in place and having wires everywhere, I wanted to stay out of the cockpit as much as possible.  I tightened up the canopy strut attach points, and completed the left aft spar bolt.  Yeah, I forgot to put the nut and cotter pin on there earlier, when we mounted the wings.  I guess I was so focused on getting that bolt in there while I had help, I didn’t think much about it afterwards.   I’m really surprised I didn’t notice it when I put the flaps on.   It would have been way easier that way.   Every time I go to some region of the plane,  I keep finding things to do, but the items are quick tasks and detail work.   I also installed a couple more heat shields on the exhaust near the throttle and mixture cables, plus I torqued down the spark plugs and the plug wire attach nuts.

No fuel smell in the cockpit, so it appears my fixes to the fuel lines and boost pump have worked, which is nice.  I also have no leaks in my fuel tanks, as far as I know, with the paltry gallon of gas in each one.

I reworked the tailwheel chains again, because last time, I had the steering link on backwards.   This meant that I cut the chains about 3/4″ too short and had to replace them.  Worked out OK, except for the fact that I overtorqued the nut on the tailwheel fork.  I might have to order a new one, which would suck, but what’s done is done.  But other than that, the tailwheel is good to go.

I should get the EFIS back this Friday, and should be able to reinstall it Saturday or Sunday.

Sunday I had more instruction with Mickey down at KTOA.  I keep making noob mistakes like trying to steer the plane with the stick, flaring too high, landing too slow, and flubbing radio calls, but considering the amount of hours I have, I actually am a noob.  I now have something like 8 hours of tailwheel time, which means I’ll crack the 100-hour total time mark during my next lesson.  I expect to solo the Citabria some time in the next couple of weeks, 3-point landings only, but that’s enough for me to build up some time.   I need to get good enough with all the basic airmanship and solidify my taildragger mojo enough to take on wheel landings.   This is important, because RV-7’s like to be wheel-landed.   The 3-point attitude is actually less than stall angle, so supposedly 3-pointing them leads to “The RV Dance,” which is a slight bounce, on the first touch and settling down after.  FA you can do, it’s just like that.

Equal parts forward and back.

6 hours.

One of these days, I’ll move forward without moving backwards.  Today I had to dismount the EFIS in preparation for taking it to MGL Avionics.   Apparently the OAT module is fried.  I tried it with a new probe last week, no dice.   Maybe, if I’m lucky, I’ll be able to drop it off tomorrow on my lunch hour.   Other than that annoyance, I got the tailwheel hardware primed, something I should have done long ago, and I got my spark plugs torqued in.   But now, for some mysterious reason, the tailwheel steering chains don’t reach their mounting points on the rudder anymore.   It’s possible I had the steering link on upside down/backwards, which would have accounted for the missing 3/4″ of chain necessary to bridge the gap between what I need and what I’ve got.   Looks like I’ll be ordering another set of tailwheel chains.  Grumble.

Anyway, once I get my EFIS back from the shop, it’ll be time to prepare the engine for first start.

On another note, I’m progressing nicely in my tailwheel training.   We flew from Torrance to Hawthorne, where I did 8 landings, unassisted.   Apparently I CAN land a Citabria in 3-point attitude.   At least when the wind is coming at me and I set up the approach right.

More fuel fun.

5 hours.

I realized yesterday that my means of measuring usable fuel was somewhat flawed, in that measuring leftover capacity in tanks drained is not valid.  It’s nice to know that there is .0312 gallons left in each tank after a draining, but what we really need to know is how much is left after the tanks are pumped dry.

So I went back up there and raised the tail up to flight attitude again.    This time it was a  little easier, because I found a weird old pallet lift at the back of the hangar, which allowed me to precisely lift the tailwheel to a desired height.   I drained out both tanks again, then starting with the right tank, I added exactly one gallon of fuel.  That’s when the fun started.

I’d made a fitting and tube to allow me to pump fuel from the firewall fitting into a measured pitcher below the airplane, and yes, I did make a bonding cable from a piece of 10ga wire and a couple of cleco clamps.   One end was clipped to a steel rod sitting in the pitcher and the other was clamped to the airframe to mitigate static buildup.  With this setup, I should have been able to pump the tank dry and measure the difference.

Wrong.   The pump buzzed and blew some air but no fuel.   Hmm..  Won’t prime.   I attached a rubber tube to the vent fitting and blew through it, thinking maybe a little more pressure would help the pump get started.   Oh yeah, that…  sort of works.   But then, I saw fuel dripping from the skin, outboard where it meets the spar.  WTF?

In the cockpit, there was a nice puddle of fuel on the floorboards.   Oh f—.  Stop everything, grab paper towels, mop up the spill.    This is where the lesson in finishing comes in.   When I reinstalled the fuel pump and covers, the intention was to get the covers and such back on so I could fit the interior, carpet, etc.  An actual functioning fuel system was not in the scope of the job.   It should have been.

There were three loose fittings at the fuel selector end, which were wet enough to feel.   Idiot.   After mopping up the fuel and letting the compartment ventilate for a while, I tightened those up and whaddya know, fuel starts shooting into the container when the pump runs.   I backed up and drained the fuel again, repeating the measured pour into the tank.   This time, I got 8 oz pumped into the waiting pitcher.  Add the 4 ounces of fuel left in the tank after the drain test from yesterday and that’s 12 oz of unusable fuel in the right tank.

The left tank went fine, only this time I got 11.5 oz of unusable fuel.

At this point, what the hell, let’s see if the fuel system will charge.   I reconnected the fuel pump feed line to the firewall fitting and hit the boost pump again.   And got a spray of fuel coming from the fuel pressure sensor hose fitting.    This was my second warning.   At this point I started to clue in and checked all the fuel fittings downstream of the firewall, which were plenty tight.    Fire up boost pump again, and look for leaks.  None firewarll forward.   But I got another puddle of fuel on the floorboards for my trouble.  Huh?

I removed the fuel fitting panel on the carb heat cover and yep, the fuel feed line and the purge valve return line were both loose.   How the hell did that happen?   Did I just not bother to tighten anything at all in there?

With those tight, the only leak came out of the sniffle valve on the sump, which is fine.  It was also just a few drops, probably because I’d left the throttle open when I ran the boost pump.

Finally.   I poured the fuel back into the tanks and buttoned everything back up.  Stress levels down.   A lemonade pitcher full of avgas is a scary thing and you can’t take your eyes off it for a second, because some fuel dribbling in the cockpit is one thing (on the ground at least).  Half a gallon of avgas spilling across the hangar floor is another.

So the takeaway from this lesson?   Check all the dependent systems before performing tests.  Ensure proper installation of dependent equipment before running live fuel.   That means pull the covers and check the fittings.  You can bet I’m not going to be nearly as complacent when it comes time to check the ignition system.

Usable fuel

5 hours.

Today, Dave and I went up to OXR in his Defender 110 and we got three significant things done:   We set up the brakes, we measured usable fuel, and we pre-oiled the engine.   To pre-oil the engine, you take the bottom plugs out and crank it over with a bunch of new oil in it.   Like so:

There was more than this, but it sure was nice to see that prop spin around, even if only driven by the electric starter.

For usable fuel, we hoisted the tail of the airplane so we could perform the measurement in level flight attitude.  Score another one for the engine hoist.   Then we persuaded one of the vendors on the field to let us fill up two 1-gallon gas cans with avgas.   Then we put the fuel into two half-gallon pitchers with graduated marks on the side we’d gotten from the 97 Cent Store (yes, it’s actually called that but the pitchers were $1.29 each)  and we poured a gallon into each tank.   Draining the tanks back into the pitchers left us with a net loss of 4 fluid ounces on each side, as near as we could possibly measure.   Bottom of the meniscus, high school chemistry, all that.   4 fluid ounces works out to 0.0312 US Gallons, rounded off to 0.03, which gives us a usable fuel capacity in each tank of 20.97 US Gallons.

So we’ve got brakes, gas, and oil.   Now I need to time the mags, gap the plugs, and fire it up!

Still more connections.

6.5 hours.

A bit of a late start.   Since I took this week off, yesterday was my first weekday commute to OXR.   I went via PCH, which is nice enough, but it took a little longer, especially during rush hour.

I finished installing the rudder cable linkages to the pedals, so that’s another thing done.   I also got the pitch trim servo wired in.  I’ll need to adjust the throw on the trim servo, but that’s essentially done.

Then I went back to wing wiring.   I got the strobe and lights connected for the right wing, plus the autopilot servo.  It was lots of tedious, fiddly stripping and crimping in small, awkward places, which has an extra coating of suck because I did something to my right elbow and now operating hand tools like crimpers is fairly painful.

Left to do is connecting the VOR antenna wire (This may become an ADSB antenna wire if they phase out VOR) in the left wing and putting in a couple of pieces of UHMW tape here and there.  If I can have lights, strobes and VOR by the weekend, I’ll count myself lucky.


More connections and a flight

6 hours.

Today was spent tidying some wing attach stuff.   I got my order from ACS, so I was able to finish installing and torquing all the wing attach hardware.   I also did the fuel line on the left tank, remembering this time to put the rubber grommets on before flaring the ends.   There’s a $30 tool that will stretch those rubber grommets out so you can get them over flares and fittings, but I figure it’s good practice just to try to be less stupid.

The most interesting part of the day was the short flight I took in my hangar mate’s Luscombe.

20130616-093619.jpg

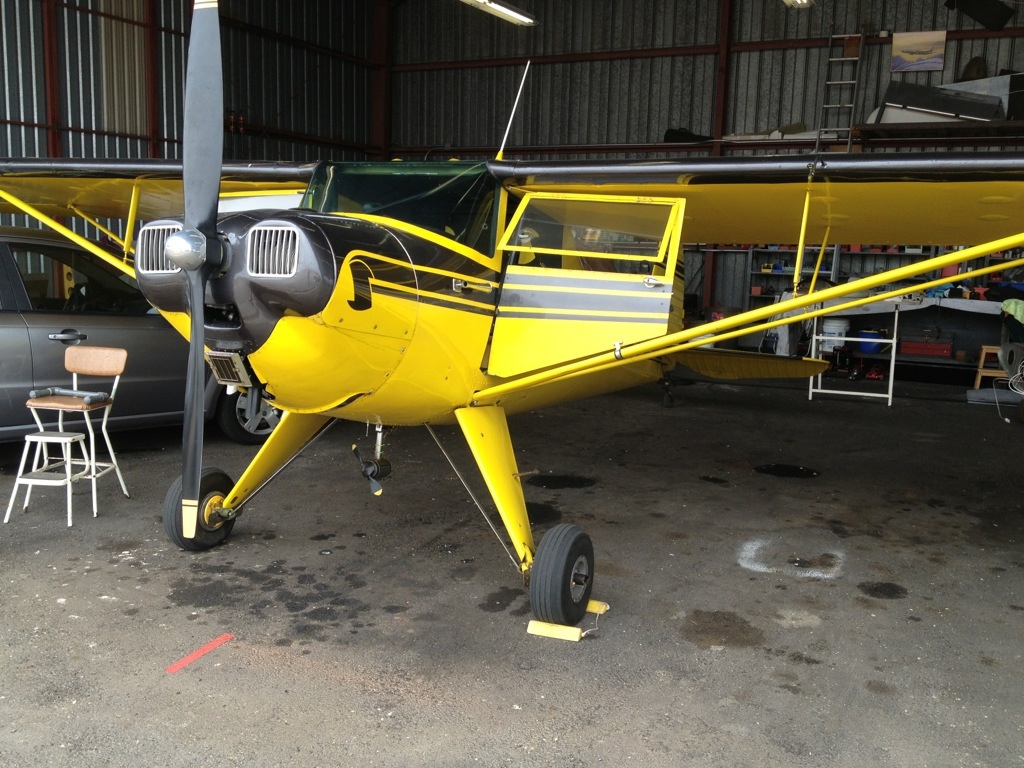
I’m not sure which model this is, but I think it’s an 8C or 8D.   It burns 4 gallons per hour, which is probably about half of what the Pipers I learned on did.   It has no flaps, no lights, and only the minimum equipment of single radio and transponder to get around Southern California’s interesting airspace.

20130616-093644.jpg

Now, I’ve never been in, much less flown a taildragger, and the oldest airplane I’ve even sat in was an old L-19 Bird Dog in Ft. Leavenworth KS when I was a little kid.    This aircraft was built some time during the early 1940’s, and Ron was kind enough to let me follow him on the pedals to get a feel for the quirks of a taildragger.   This shot is one out the right window, us taxiing to runway 22 at OXR.

20130616-093659.jpgAnd another out the front.

20130616-093719.jpg

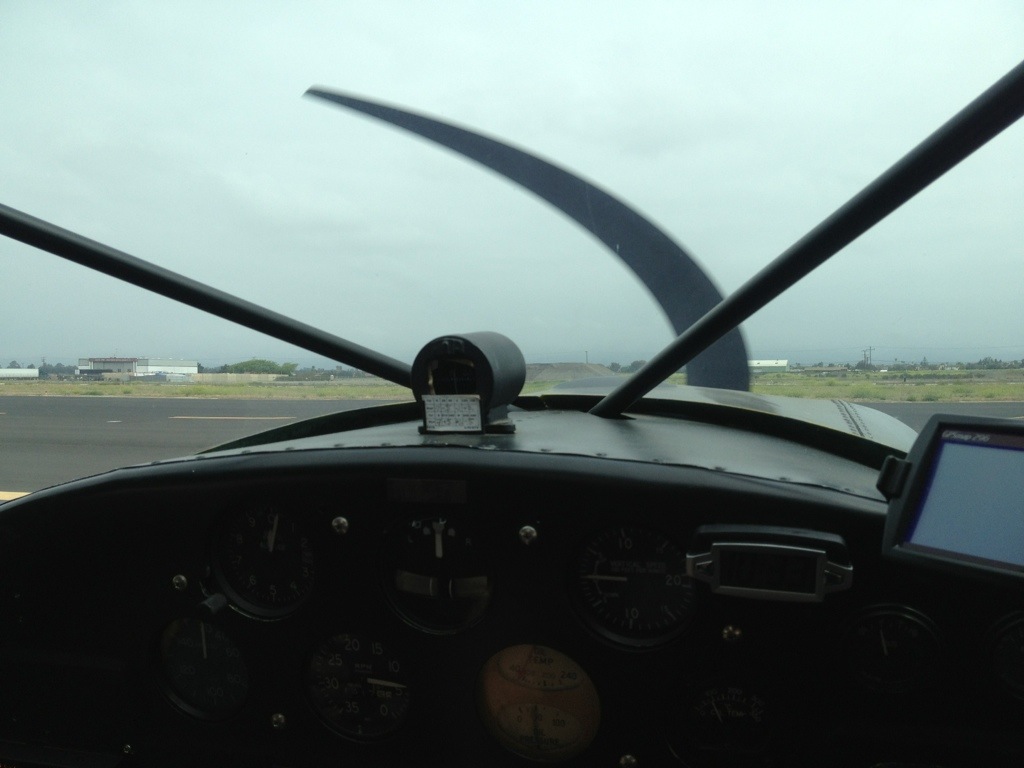
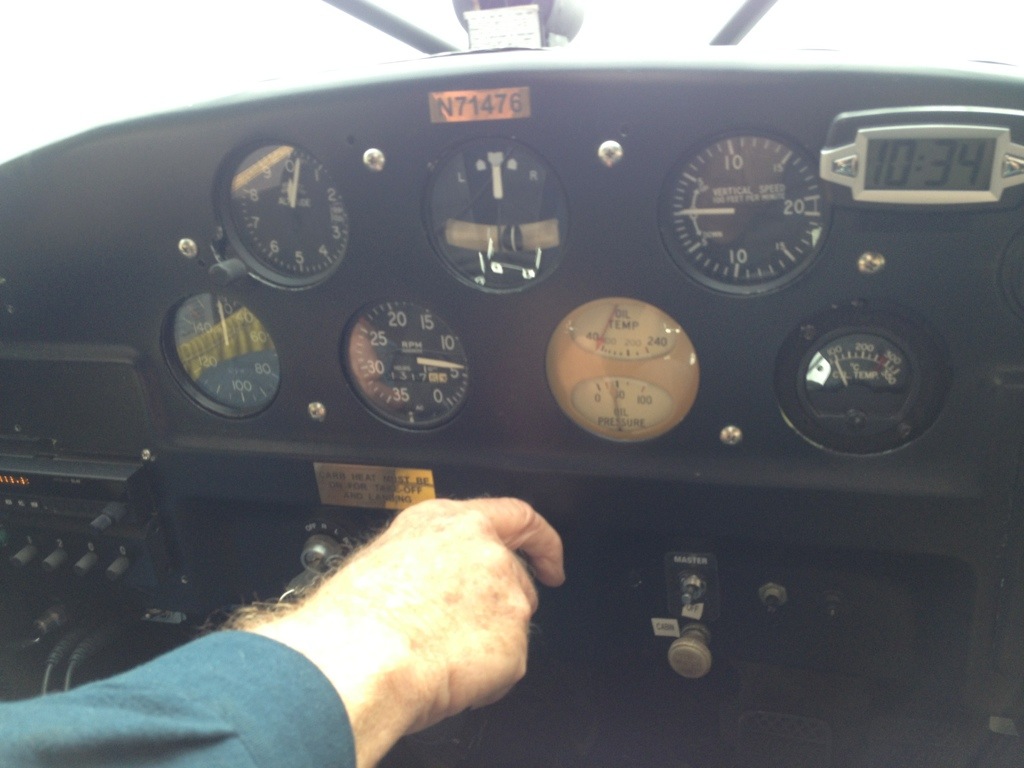
The instrument panel is simplicity itself.   Everything you need for day VFR, nothing you don’t.   The mount for the Garmin 296 GPS looks strangely out of place, over to the side out of frame.   There’s a single vernier cable control for throttle and a small one for carb heat.  I didn’t see one for mixture.  I don’t think there is one.   The fuel gauge is on the bulkhead behind me, between the two seats.


20130616-093736.jpgWe did a landing at Santa Paula, where I was able to get a picture of Steve McQueen’s old hangar.   I love this airport already.   I just wish we’d had the chance to buy McQueen’s old ranch when it popped up on Jalopnik last year and it was dangerously close to something we could afford at its fire-sale price.


20130616-093750.jpgThat adventure only took about 20 minutes to half an hour.   When I got back, I did most of the real work.   Here’s the right flap, on and conneted.  There’s some more rigging to be done,  and some more wiring, but the wings are nearly fully on and connected.   I also got the left rudder pedal connected to the cable, but ran out of time before I could do the right one.   I’ll hit that in a week.  Soon it will be time to mount the prop!

The Thing Has Wings!

3 hours.

This morning, Dave and Peg picked me up from home and we met Derek at the airport to fly up to OXR in his 177RG Cardinal.  It took a while to get out of SMO because somebody’s bizjet blew a tire and was stuck on the runway for half an hour, but we finally got off the ground and got to Oxnard.   There, we put the wings on the RV, which involved a lot of shuffling things around in the hangar space and trying not to bash the other occupants, the structure, or each other, with ungainly airplane parts.

The wings did go on, after a fashion.   Our time here was abbreviated because of earlier runway delays, so the wings are currently held on with the sacrificial hardware store 5/16 bolts I used during the initial alignment and the proper AN5 aft spar bolts.  My hangar mate Ron and a friend of his helped us get the overlap sorted out on the right wing, and all totaled it didn’t really take more than an hour once we arranged everything in the shop and actually began putting the wings on.

It truly was a 4-person job.   Derek, Dave and I wiggled the wing into place, Peg kept the wires from getting fouled, and then I bashed the 5/16 bolts through with the rest of the crew doing precision wiggling where needed.

20130601-152501.jpg

20130601-152510.jpg

20130601-152522.jpg

20130601-152531.jpg

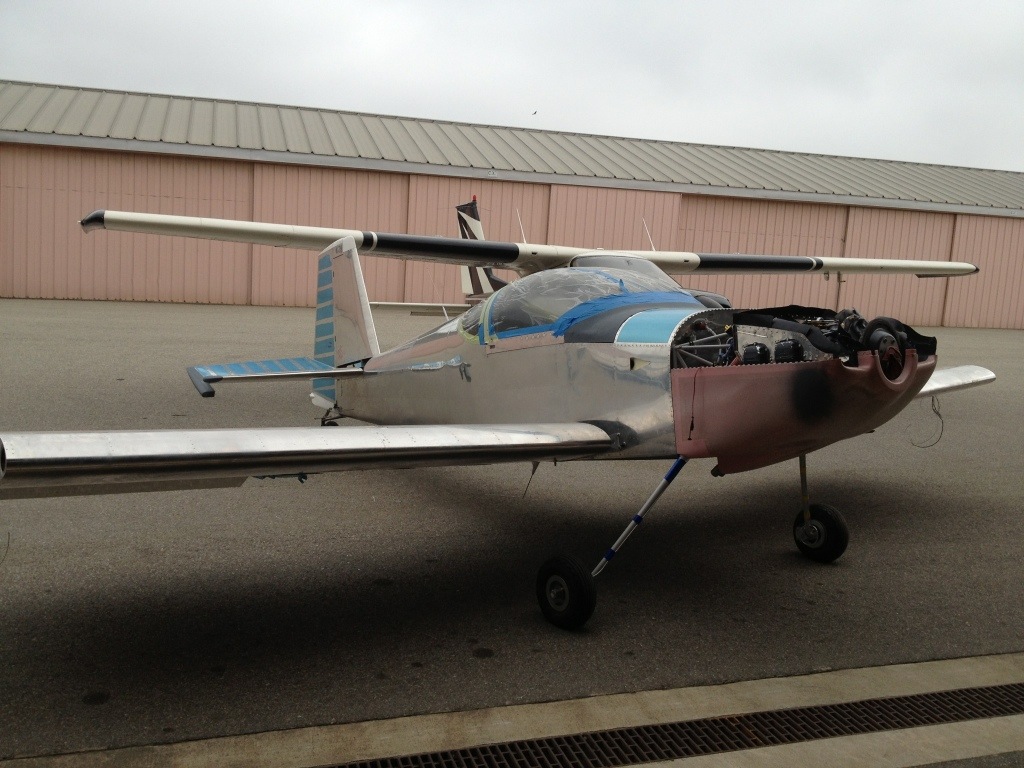
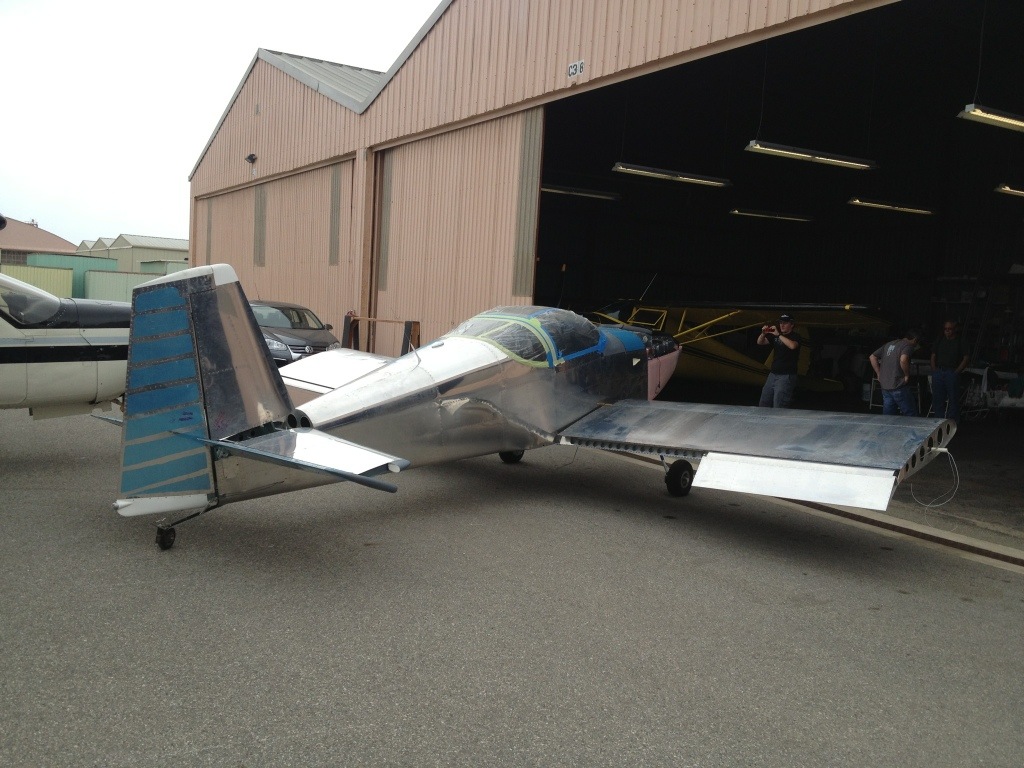
One thing I should have done is left the flaps off.   We tried getting the left wing on with the flap on and that didn’t go so well, especially when it came time to line up the aft spar holes.   I wound up taking the flap off the left wing, then took the flap off the right wing before we tried to put that on.   So what you see here is the current state, which is the big flat bits that make the plane stay up in the air, stuck to the bit that holds the meatbags off the ground.

As an aside, I’m hoping that when I connect the control push tubes, the sticks are a little more limited in their side to side travel, because currently, my hand just barely grazes the quadrant.

Moving Day, Part 2 cont’d.

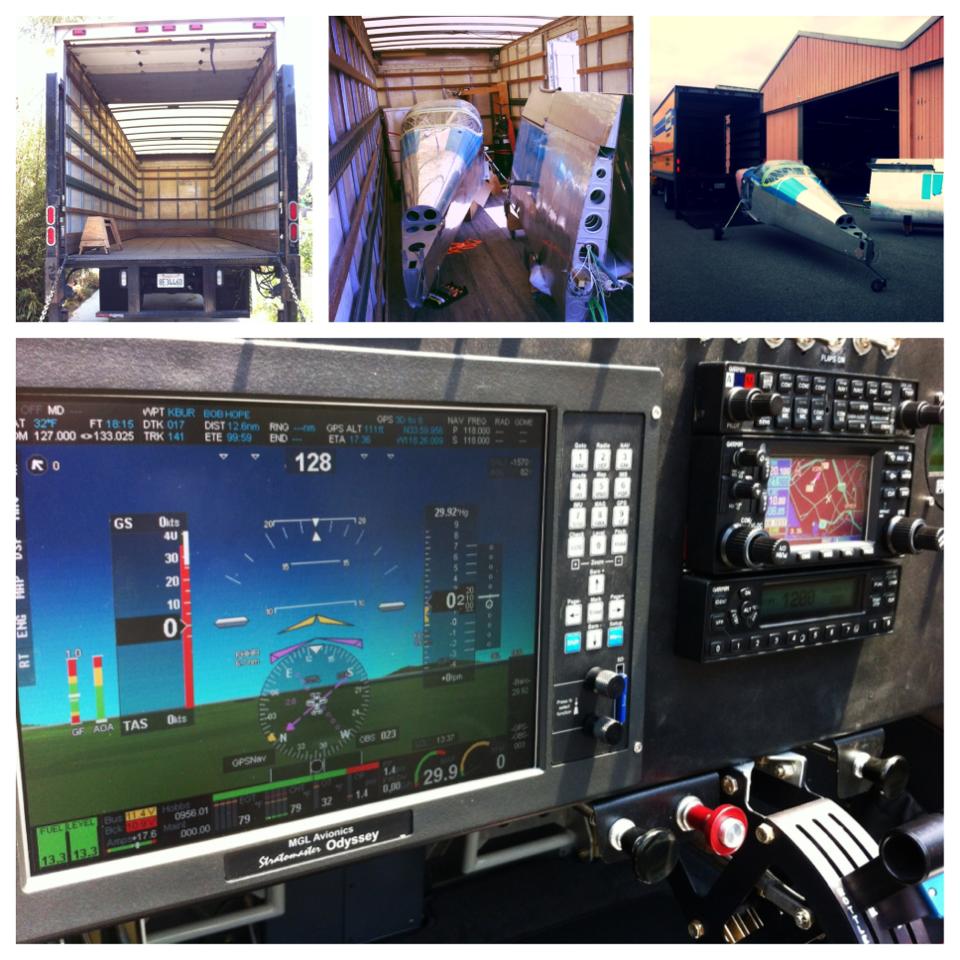
Some photos from Dave – Loading, loaded, and unloading:

MovingDayCollage